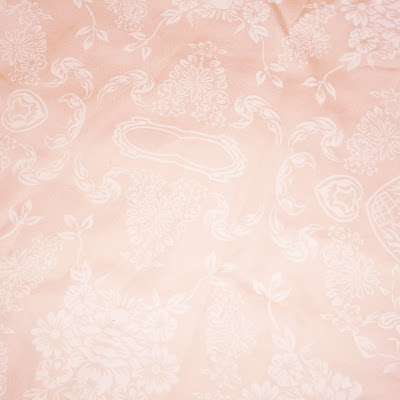
I was overjoyed that a bedsheet challenge was annouced on Craftster. A few years ago we gave a new life to a damaged set of printed pinkish color King Size sheets.

When we had just moved into our house here in Texas, we temporarily used the flat sheet as a makeshift curtain on our sliding back door until we could find something suitable to replace it. The sun was brutal to the sheet, fading it badly in a some places. Mom was going to pitch it. But, the upcycler that I am, I stopped her and decided to use it as a test run for a custom pattern for a renaissance chemise shirt.

I liked how the shirt came out so much, I was always meaning to finish a matching underskirt. This challenge gave me the perfect motivation to get these undergarments finished to go with my mom's black bodice and overskirt. So, having a huge King fitted sheet to work with, I cut a giant circle skirt. Mom sewed on the casing for the drawstring waistband. Very simple project. I used a strip of the edge of the flat sheet as the string. The skirt came out really long. Perfect full length skirt that used just about every inch of the sheet.

I loosely based the top on Simplicity's 9966 Costume Pattern. But, I changed the shape of the sleeves and added fullness to the whole thing. I added drawstrings to the sleeves at the neck, upper arms and wrists.
We still have the 2 extra long pillow cases that will become some baggy bloomers to go under the skirt. Each case will be one leg of the bloomers. Just have to cut the end seam apart and cut out the crotch. Then, I will just sew them together and add a drawstrings at the waist and knees.

So, we've used just about the entire sheet set. I still have some scrap from the flat sheet that will most likely be made into a pouch, hanky and possible coif-type head cover thing.
Come check out the all the bed sheet challenge entries. I'd really appreciate a vote! Thanks for looking! Hope you enjoyed your 4th of July celebrations!


